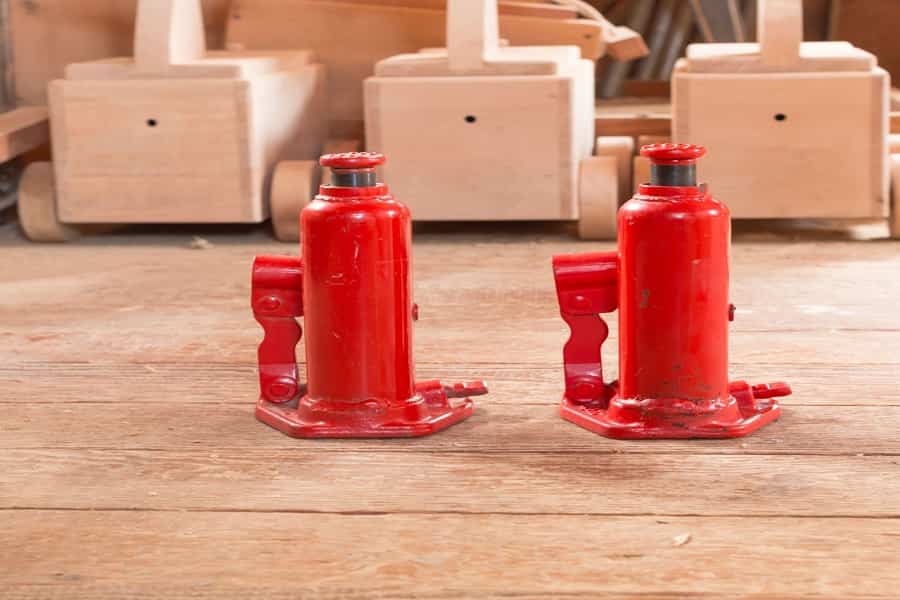
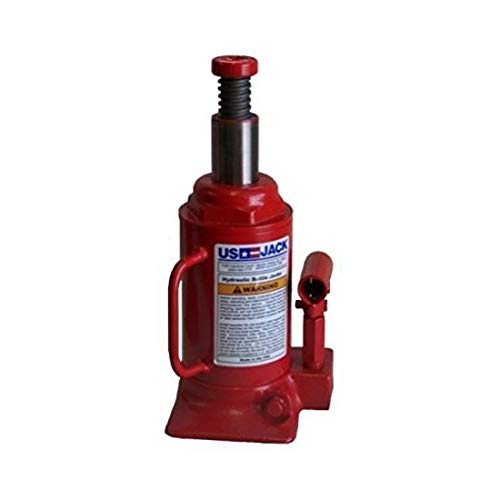
Bottle jacks became popular in the early days of the tools and machinery revolution. (Below) I have put together a helpful list with pictures of automotive and industrial bottle jacks made in the USA by well-known brands and conveniently available online. In addition, I also provide some factors related to bottle jacks to help you choose the one that best suits your needs.


Related Pressure washer made in USA
For more on pressure washers made in USA read the full article.
How Did the Bottle Jacks Become the Best: 3 Reasons
1. Portability & Capacity
In terms of portability, the higher the capacity, the heavier the bottle jack will be due to the amount of steel it contains to support its rated load. And in terms of capacity, large capacity jacks, starting at 20 tons, are used to service heavy equipment, railroads, or lift a two-story house.
Another positive aspect of using a large bottle jack is that they have a higher safety rating. They are more stable and have a broader base, thicker pistons, and stiffer. In addition, large bottle jacks are easier to lift. For example, suppose you need to lift your SUV or truck, which weighs about 7,000 pounds or (3.5 tons). In that case, a 20-ton bottle jack will do the job without any problems.
Related Air compressor made in USA
For more on air compressors made in USA read the full article.
2. Reach Limit & Overload
Most bottle jacks have threaded tops that allow you to get more adjustment and reach in certain situations, and it has always been a nice feature of bottle jacks. Also, with the threaded tops that bottle jacks have, you can get an additional reach of about four inches or more. The only two cons that I see with bottle jacks are that they emit a particular squeak sound when they reach the limit of their travel.
Also, when bottle jacks are overloaded, a ball-bearing configuration releases the load. Those are the two cons of bottle jacks. It is crucial to remember that bottle jacks are made only to lift the load and not to hold it long term, as they can leak when not used properly. No hydraulic system is designed for long-term holding unless it is an active system constantly adjusting and pumping. Again, hydraulic jacks are made to lift the load.
Then you have to put something solid underneath, like wood blocks, screw jacks, jack stands, something that is more rigid and permanent than a bottle jack. And this is why you should never work under something supported by a bottle jack, even if you have a super heavy bottle jack.
Related Floor fan made in USA
For more on floor fans made in USA read the full article.
3. Pressure Gauge
Some bottle jacks are equipped with an additional port for connecting a hydraulic pressure gauge. For example, suppose you’re lifting a heavy load with a bottle jack that has a hydraulic pressure gauge. In that case, it will let you know exactly how far or how close you are to the load and capacity limit. And it will provide you with a general idea of the weight of the load you are lifting.
Assuming you are lifting a house corner with a 6-ton bottle jack with a hydraulic pressure gauge. It goes to 5,000 psi which is about three tons of weight; In this case, you still have another three-ton lifting capacity. It is always good to have the advantage of seeing where the capacity limit of the bottle jack is.
Related Space heater made in USA
For more on space heaters made in USA read the full article.
Lifting Your Vehicle with a Bottle Jack in 4 Essential Steps
Step 1: Use Wheel Chocks
I strongly recommend always using wheel chocks when lifting your vehicle. Using wheel chocks will prevent your vehicle from rolling while you work on it. Also, always set the parking brake to add more stability to the vehicle.
Related Drill bits made in USA
For more on drill bits made in USA read the full article.
Step 2: Locate Your Vehicle Lift Points
Consult your vehicle owner’s manual to find out where the lift points are located on your vehicle. Lift points are the point at which the vehicle can withstand high stresses and handle the weight when the car is lifted. All vehicles have these designated lift points, and usually, the lift points are located near the wheels.
Related Tool to remove lug nuts: And a few helpful techniques
For more on tool to remove lug nuts read the full article.
Step 3: Start Lifting Your Vehicle
Be sure to always use the bottle jack on a hard, level surface when lifting your vehicle, and avoid placing the bottle jack on an uneven surface. Once all wheels have a chock, you have set the parking brake and located the lifting point; now, place the bottle jack under the lifting point. Ensure that the bottle jack saddle or extended screw has complete contact with the lifting point. And avoid partial contact between the bottle jack saddle and the lifting point.
Related Tools to fix dents in cars: Fix your car’s dents like a pro
For more on tools to fix dents in cars read the full article.
Step 4: Use Jack Stands
Once you have lifted your vehicle, place the jack stand to support its weight and follow the owner’s manual for details. Never support the vehicle’s weight with a bottle jack alone.
As I mentioned earlier, bottle jacks are built to lift and not support weight for long periods. As a rule of thumb, never overload your bottle jack. And just to put things in perspective, the average compact car weighs around 3000 pounds (1.5 tons), and full-size SUVs that weigh about 6500 pounds (3.25 tons). So, always make sure your bottle jack is rated for the load you want to lift. For example, a 20-ton bottle jack that has a capacity of about 40,000 pounds will have no problem lifting small cars to SUVs or pickup trucks.
Related Garden hose made in USA
For more on garden hoses made in USA read the full article.
Bottle Jack vs. Screw & Journal Jack
Bottle jacks are much more efficient and can give you a higher leverage ratio. In addition, battle jacks are the type of jacks that have large pistons for lifting heavy equipment. For example, compared to a screw jack and journal jack, a bottle jack needs only a little fluid. A single pump with a tiny diameter can exert a ton of pressure, giving it a leverage ratio through a fluid with less effort.
Related Extension cord made in USA
For more on extension cords made in USA read the full article.
How to Service a Bottle Jack: In 5 Easy Steps
Step 1: Oil Change
- Open the release valve and remove the filler plug.
- Carefully grasp the bottle jack and hold it over an oil pan horizontally to drain the oil completely.
- Ensure to wipe off any oil that has dripped on the outside of the bottle jack.
- Using a hydraulic oil dispenser, pump new oil into the filler hole, and be sure to use the manufacturer’s recommended hydraulic oil.
- Once the oil starts to drip off the filler plug orifice, this will be the guide for stopping the oil pump.
- And finally, put the oil plug back on the bottle jack and close the release valve.
Use the four-step guide to purge your bottle jack if needed (below).
Related Cordless Tools Made in USA
For more on cordless tools made in USA read the full article.
Step 2: Purge Air Bubbles
Whether you have a new or used bottle jack, it will always require ongoing maintenance to keep it in working order. For example, you may have recently purchased your bottle jack, and right out of the box, it doesn’t work because it seems defective or simply isn’t performing up to your expectations. Air bubbles trapped in the system can occur due to rapid movement during shipping.
Perhaps the bottle jack has been sitting in your garage for a long time, and now it doesn’t want to lift. Air bubbles are not a good mix in any hydraulic system and should be removed in a process known as air purging. Here’s how to purge your bottle jack in five easy steps:
- Place the crank handle on the release valve and turn two full turns counterclockwise.
- Take the handle place it on the operational level and pump the handle twenty times.
- With the handle on the release valve, turn it clockwise until it is tightened.
- Take the release valve handle, place it on the operating lever, and pump the handle until the ram rises to the maximum height.
- Turn the release valve counterclockwise and manually push down the ram of the bottle jack to lower it ultimately.
The air should be purged from the hydraulic system, and the bottle jack should now operate as expected. If the condition persists, repeat the above five easy steps until the air is purged from the system.
Related Jumper cables made in USA
For more on jumper cables made in USA read the full article.
Step 3: Check Oil Level
It is also advisable to check and maintain the hydraulic oil in your bottle jack, especially if it has not been used. Apply these three simple steps to check the oil level of your bottle jack.
- Make sure the bottle jack ram is fully lowered.
- Locate and remove the filler plug carefully to prevent debris from entering the system.
- The oil level should be the same as the filler plug orifice.
- Add the required hydraulic oil and close the filler orifice with the plug.
As I mentioned earlier, always use the manufacturer’s recommended oil when adding or changing the oil in your bottle jack. Avoid mixing different types of oil because it can cause internal damage to the bottle jack. Other than purging the air and topping off the hydraulic fluids, the bottle jack does not require any additional lubrication before first use.
Related Pellet grill made in USA
For more on pellet grills made in USA read the full article.
Step 4: Lubricate External Moving Parts
The external moving parts of a bottle jack should be lubricated from time to time with light machine oil to maintain efficient operation. Apply oil to the lifting arm hinge joints, pushrods, and handle base. Avoid using solvents or abrasive cleaning agents, as they will cause deterioration of the hydraulic seals.
Step 5: How to Store
To store your battle jack, turn the release valve one-and-a-half turns counterclockwise to release pressure from the hydraulic cylinder. Next, store the bottle jack in a clean, dry environment, preferably indoors, to protect the jack from moisture. These steps are essential and will prolong the life of your bottle jack.
Related Bench grinders made in USA
For more on bench grinders made in USA read the full article.
Related Zero-turn mower made in USA
For more on zero-turn mowers made in USA read the full article.
Related Brand of tools made in USA list
For more on brand of tools made in USA list read the full article.