Whether you’re a professional or a beginner, applying proper techniques will be crucial when installing or repairing drywall. And you’re probably familiar with the terms studs, hanging drywall vertically or horizontally, skim coat, paper, or mesh tape, to name a few. (Below) in this article, I will provide valuable techniques and tips to help you achieve better results when installing or working around drywall.
For more on can paint rollers go in the dryer read the full article.
Can Drywall Touch Concrete
Drywall should not touch concrete, as moisture will penetrate the drywall and encourage mold and mildew. To install drywall over concrete, especially in the basement, where most homes have concrete walls, you must adequately insulate and frame before drywall installation. Tools and materials needed to perform the job include:
| Equipment or Tool | Accessories or Supplies |
|---|---|
| Air Compressor, Hose, and Accessories | |
| Framing Nailer | |
| Framing Nails | |
| Pneumatic Stapler | Staples |
| Impact Screwdriver | Power Sockets |
| Chalk Line | Pencil |
| Masonry Drill Bit | Concrete Anchors |
| Drill | |
| Drywall Screws | |
| Circular Saw or Miter Saw | |
| Speed Square | |
| 2×4 Boards | Shims |
| Insulation |
For more on can you leave paint in a paint spreayer overnight read the full article.
Can You Hammer In Drywall Anchors
You can hammer in drywall anchors only if the anchor has been designed with a hammering feature. For most drywall anchors, you will first need to drill a hole to install it properly. Note: You can use a hammer only after drilling a hole to give the anchor a smooth finishing touch. I want to recommend the WallClaw hammer-in drywall anchor (see image below).

This anchor looks and acts like a nail but is much stronger than an anchor. Here’s how it works. It simply hammers into the drywall without drilling because it has a nail point and a knife-like edge that makes a fine cut in the wall and not a big hole. This drywall anchor has a wide flange design that gives it a bearing surface which makes the anchor strong. It also has an arrow on the head that should point up when installed.
As I mentioned earlier, hammering the anchor into the drywall is easy and causes minimal damage to the drywall, which is essential to the strength of the anchor. After installation, you can use a screwdriver or drill to drive the screw into the anchor. The anchor leg pivots up when the screw is driven into the anchor and locks securely behind the wall allowing the anchor to hold up to 90 pounds in 1/2″ drywall or 125 pounds in 5/8″ drywall. The same anchor works in both thicknesses of drywall.
Removing the anchor is easy; use a screwdriver to remove the screw about midway. The anchor leg will go back to a straight position as the screw is removed. Use the screw head to loosen the anchor from the wall and pull it out. Finally, after removing the anchor, you will see a fine indentation that is easy to repair with a single pass of drywall putty.
Related Leaving air in air compressor
For more on leaving are in air compressor read the full article.
How to Find Studs Behind Drywall
Finding studs behind drywall can sometimes be challenging because you can’t see where the studs and screws are. Here’s a simple and easy trick to find any studs in walls or ceilings. Get a magnet that can hold a pair of pliers and use it as a stud finder. For example, if you can spot a single drywall screw using a magnet, you will have found the stud’s location. And if the wall or ceilings have steel studs, the magnet will work even better to detect not only drywall screws but also steel studs at the same time. Note: The stronger the magnet, the better the results.
Related What is a bathroom fan for: Everything you need to know
For more on what is a bathroom fan for read the full article.
Can You Hang Drywall Vertically
You can hang drywall vertically, which I recommend, and here is why. When comparing horizontal versus vertical drywall, folks in residential homes usually like to put their drywall horizontally. When you put drywall horizontally, you will have a butt joint which means two butt ends that expose the drywall.
Now, when you put drywall vertically, each joint is factory-covered, which means no plaster is exposed on the right or left side. So the fewer butt joints you have in the whole room, the better the finish and the smoother coat you will get instead of having a bubble in the wall where you tried to make a butt joint.
Should You Skim Coat Drywall
Skim coating is not always necessary for new drywall. Still, if there is not going to be texture, I recommend it because you have a uniform surface to prime and paint. In addition, skim-coating drywall is also a great way to make old walls look new again. Sometimes, when you don’t coat, you can see that the paint soaks into the joint compound differently than it does with drywall.
What is Skim Coat in Drywall
A skim coat, also known as a level five finish, is a thin layer of joint compound, also known as mud, that you can use to smooth out damaged walls. You may need a skim coat after a wallpaper removal job, drywall patch repair, or even if your wall is dented and damaged from everyday wear and tear. Note: Before applying a skim coat, use a surface sealer first if necessary.
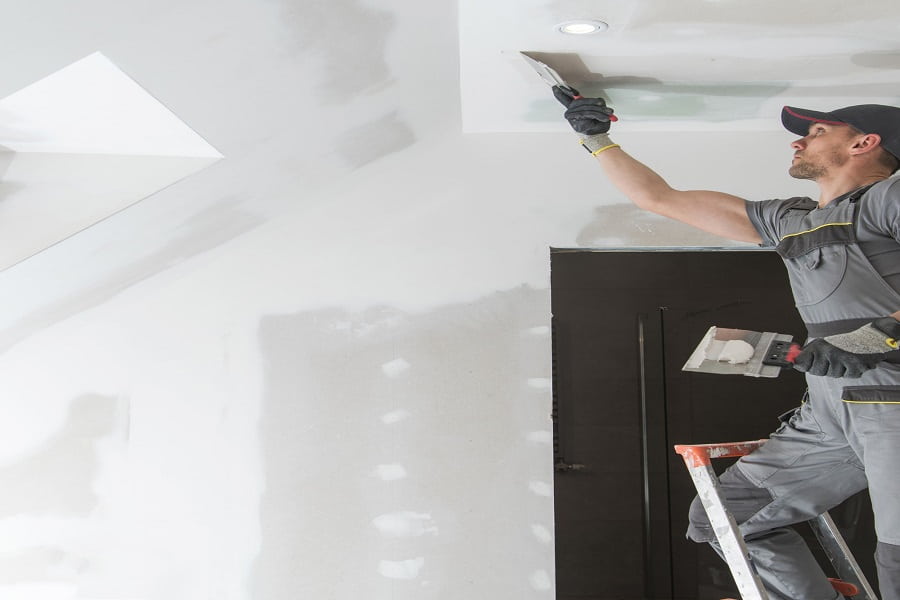
How to Apply Skim Coat on Drywall
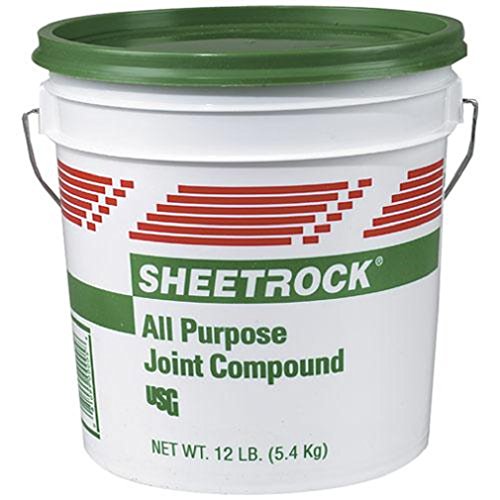
Generally, you will need to apply at least two coats of finish before a smooth surface is achieved. Tools needed: 16″ mud pan, 14″ drywall tape, and a 6″ putty knife. To establish a flat surface for painting or re-texturing, you can spread the skim coat with a trowel or putty knife over a ragged wall or ceiling. I like to use the all-purpose joint compound for the skim coating. (See image below). I prefer and recommend using the all-purpose joint compound instead of a setting compound because the all-purpose has a lot more glue, which equals better adhesion.
How to Mix All Purpose Compound for Skim Coat
The tools you will need to mix the joint compound are a drill, paint mixer, small bucket, 6″ putty knife, and water. The consistency of the skim coating will depend on what you are working with. For example, when skim-coating a popcorn ceiling altogether, mix one gallon of all-purpose joint compound in an empty bucket and then add about half a cup of water to get a creamy consistency. If you are doing a smooth finish after a wallpaper removal job, you might want to thin it more than you usually would.
Which Drywall Tape Should You Use
If you are doing a drywall project and you are trying to do some finishing or repairing, you have probably come across different types of drywall tapes. And now you’re wondering which type of tape is the ideal one to use and what’s the difference? (Below) I will cover the two most popular drywall tapes, known as paper tape and mesh tape.
Drywall Paper Tape
I prefer and recommend the use of paper tape when working with drywall. Here are three reasons why.
- Low Cost: Paper drywall tape is much cheaper than mesh tape.
- More Exceptional: Paper tape does something exceptional that mesh tape cannot do. For example, paper drywall tape has a particular crease that runs straight right down the center. The crease is there right in the center of the paper tape because it allows it to create a perfect corner, also known as angles. So when you need to tape a corner, you’ll create a nice, crisp line that the mesh can’t match.
- Better Productivity: Paper drywall tape allows you to be more productive because you can load it onto taper tools. There are two standard taper tools known as a banjo and a bazooka, and both of these drywall tools allow the user to do productive work. And what the tools do is they allow you to put the paper tape on the joint compound all at the same time. And that’s why I prefer paper tape because you can’t carry a roll of mesh tape on those tools.
Drywall Mesh Tape
I find that mesh tape is ideal for repairing small holes in drywall, but not in high-traffic areas such as behind a doorknob where there is a knob hole. This hole repair technique is intended for areas that don’t get a lot of traffic. Now, if you try to do the same hole repair with paper tape, it puckers, whereas mesh tape holds its shape and allows you to put joint compound over it, and it doesn’t pucker in the middle. And that’s why mesh tape is ideal for repairing holes.
Another advantage of using mesh tape is that it omits the base coat because it adheres to the surface. When using paper tape and not using a taper tool, you have to give a coat of joint compound first and then cut a piece of paper tape. When you use mesh tape, you eliminate that step, and that’s because it adheres directly to the drywall without the need for taper tools. Mesh tape is also popular with DIYs when it comes to taping ceilings because, again, it sticks to the surface. Now there are two disadvantages of using mesh tape, including:
- Over Sanding: It will show a waffle pattern if you sand the mesh tape too much. And the idea of the tape is to disguise the joint, so it looks like a continuous wall with no visible seams. The paper tape will blur slightly and doesn’t give away the seam as mesh tape would if you sand too much.
- Loss of adhesion: when mesh tape is stored for long periods, it will lose stickiness over the years, and you will no longer be able to use it, whereas paper tape will never have this problem.
So here’s a quick tip about mesh tape. If you are going to use mesh tape, make sure that before you store it, you fold the end over so that when you use it again, you know exactly where the roll starts. Lastly, store it in a plastic bag and be sure to seal it tightly because that will extend the durability of the roll in terms of its stickiness. So if you prefer mesh tape, my advice is to keep a roll of paper tape on hand because you never know when you may need it in a corner.