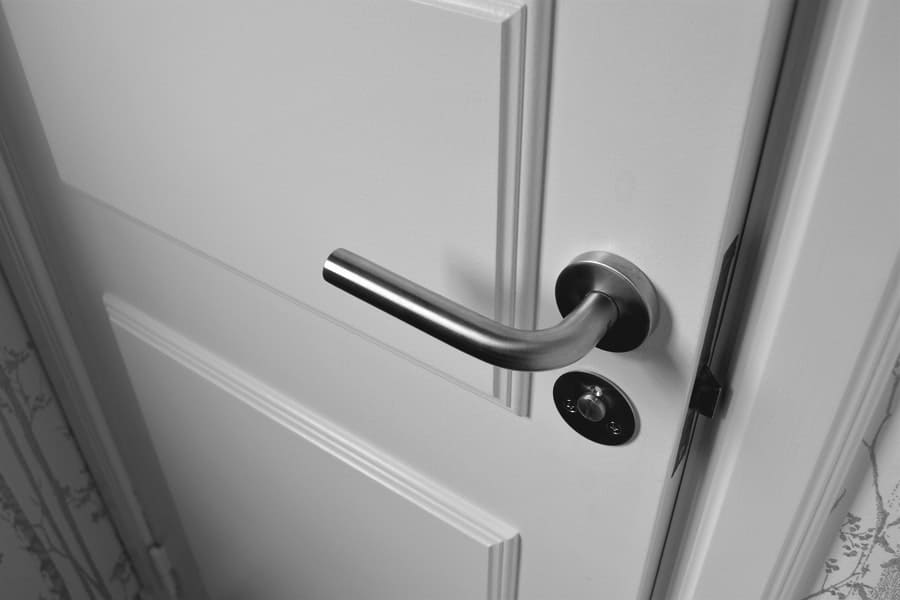
Yes, doors tend to expand during the summer due to moisture absorption. In most cases, when it comes to door issues, such as opening or closing a door, you will notice that the door does not open smoothly. As a homeowner, the first thing that will come to mind is that the door needs to be repaired or replaced, but that is not always the case.
Keep in mind that when the weather is about to change, all doors are likely to follow. For example, let’s say your local door contractor has just installed a new door in your home. The next day, the door won’t open or close properly; you will most likely think that the contractor did not correctly install the door.
Now, these examples of scenarios above may be different depending on where you live in the world if you live near a desert, an ocean, a flood zone, or an area of extreme cold weather.
How Do You Stop a Door From Expanding?
Keeping your home at 12% humidity or less can stop a door from expanding. Usually, the house has a 9% relative air humidity, so the wood tends to reflect the relative air humidity. If you’re in an indoor environment, the wood will adjust to 9%, whether it’s wood doors, flooring, furniture, etc. Now there’s a little fluctuation from season to season depending on where you live in the world. Expansion and contraction tend to stop almost entirely once the wood is dry.
By understanding how moisture and wood act upon contact, you can stop and prevent the door’s expansion. As I mentioned earlier, we now know that moisture is one of the main reasons most doors are affected. Wood is a very mysterious organic beast. It moves continuously and does all sorts of beautiful things that need to be taken into account.
Related What is a bathroom fan for: Everything you need to know
For more on what is a bathroom fan for read the full article.
How to Shrink a Swollen Door: Ginues Trick!!
I have found that to get the desired moisture results and get your door back to normal after being swollen, the best practice you can do is start a drying process. To do this, you will need a moisture meter and a commercial dehumidifier. (Below) the Dri-Eaz LGR 7000XLi dehumidifier is for some serious drying and moisture control processes with the ability to remove up to 29 gallons of water per day.

In addition, it can be used in many places, such as a greenhouse, basement, building maintenance, or pool pump room, to name a few. After researching, I came across this useful (2:49 minute video) that shows how to use this fantastic machine.
For the best results, when using a dehumidifier, you will need to prepare the area properly. Suppose you are not sure how to use this machine. In that case, I recommend that you call your local flood restoration contractor. Again, if you consider using this machine, follow the manufacturer’s guidelines before placing the dehumidifier in your house. Overdrying an area can damage your door or other objects in the room or basement.
Now, I have used Dri-Eaz portable dehumidifiers before and they simply do an outstanding job. As I mentioned earlier this machine can remove up to 29 gallons of water a day from the air, walls, floors; basically, anything that needs to be dried.
Alternative to Commercial Dehumidifier

If you are not experiencing water flooding, leaks, or extremely high volume humidity in your home, then a residential dehumidifier will serve you well. However, I always like to suggest a commercial dehumidifier for home use because they perform better. And, yes, a commercial dehumidifier doesn’t look good and they are usually bulkier.
And to confirm, most of the time, when using a dehumidifier doors do return to their normal state, but in some cases, you’ll have to make some little adjustments after the drying process is done.
I also recommend that you should have other considerations in mind before you invest in trying to dry your house, like whether the door needs to be replaced or if your home has weatherproof windows. Are all doors weatherproof correctly? i.e., exterior doors. By doing this, you are detecting the problem before the remedy.
Related What does weather stripping do
For more on what does weather stripping do read the full article.
Fixing a Door That Rubs: 9 Simple Step Process!!
If you don’t wish to apply and complete all the suggestions I mentioned above, try this tip. Re-adjust all doors to give a little extra space to all gaps so that the door moves freely throughout the year.
So, how do you fix a door that rubs? Instead of pushing, pulling, why not fix that door that rubs? You will need these tools and implement these simple steps. A pencil, a screwdriver, a little bit of cardboard, a solid wood block, a book or a piece of wood, a belt sander or a sanding block, and screws that are larger than the hinges. So, after you have gathered all the tools and objects you will need, implement these simple steps as follows:
Step 1 Inspect The Door
Check that the door was installed correctly, close the door, see if the top of the door aligns with the door frame. Examine all sides of the door, and then make sure the hinges are correctly installed in a line.
Step 2 Verify The Hinges
Verify that the hinges are tight; use your screwdriver to tighten any hanging screws. Do not use a drill; it could make you strip the holes of the wedge screws evoking the piece of wood underneath the door to keep it stable while working on the hinges.
Step 3 Look for Swelling Moisture
Look for swelling. Moisture from the weather can cause wood doors to warp and expand, so check where the door is glued and see if its shape has been altered.
Step 4 Assess Door Deformation Problem
If the problem appears to be deformation, slide a piece of cardboard between the door and frame. And note the problem areas where it sticks, mark these points slightly with a pencil, unscrew the hinges and remove the door.
Step 5 Sand The Affected Area
Sand the affected areas with a sanding block. Be careful not to remove more than you want if a door has been painted several times. The layers of paint may be what causes the sanding to stick.
Step 6 If The Problem is Significant
If the affected area is significant, use a belt sander for sanding the affected area. Don’t wear out too much wood; test, and re-paint and allow it to dry out to reinstall the door, making sure the hinges are tight.
Step 7 If The Door Still Rubs
If it Still rubs, replace the screws in the middle of the hinges with more extensive, longer screws that will hold the frame better.
Step 8 Assess The Door Frame
You can also try carefully denting the door frame, taking the woodblock, and placing it in the frame, where the door lean-to stick. Hummer the block slightly so that the door frame bends a little, making the door looser when it is closed.
Step 9 Final Assess After Repair
If all else fails, then the door might need to be replaced. At least you know you didn’t miss an evident fix; make sure the new door is stained or varnished on all surfaces, which can prevent it from warping by keeping moisture out.
How to Prevent Door Expansion: Factors to Consider!!
Houses, whether new or old, often have cracks and openings around doors and windows. These openings are a significant source of heat loss. They can account for up to one-third of the total cost of heating your home in addition to living in your home with high levels of humidity.
This will lead to door expansion problems, so you should apply caulking and weather stripping around your doors and windows and, of course, paint your doors with a coat of weatherproof paint.
Other factors include:
- Insulation.
- Several windows.
- The number of floors in a house.
- The number of air conditioning units.
When you consider that even a small 1/8 inch hole around a typical entrance door is the equivalent of drilling a five-and-a-half-inch diameter hole through an exterior wall, closing that hole is well worth the effort.
How to Detect Home Insulation Leak
When checking for insulation leaks, some are very easy to detect, such as the crack of light under the front door on a sunny day. Or the blast of fresh air from a window on a scorching day. Still, there may be much fewer apparent leaks that may require some creativity to discover.
Here’s an easy way to detect leaks around your doors and windows on a windy day as follows:
- Turn off your AC unit.
- Close all doors and windows.
- Turn on any bathroom fans and vents in your home.
- Light an incense stick and pass it near the edges of your doors and windows. Wherever smoke is sucked or blown into the room, there is a leak.
How to Seal Home Insulation Leak Gaps
Caulking the sealant spaces around doors and windows is an easy do-it-yourself project that any homeowner can take on to reduce their utility bill and moisture. There are several basic types of caulking compounds available that allow you to tackle a variety of sealing jobs, and the type of caulking compound includes:
- Latex Caulk: A cost-effective option that is easy to work with and can be painted if needed. Latex is versatile and can be used on various surfaces, including doors and windows, and cleans well with soap and water.
- Silicone Caulk: Provides good flexibility and durability. It is perfect for use around doors and windows and in areas exposed to moisture or direct sunlight. You cannot paint silicone products since they are designed so that nothing will stick to the surface.
- Polyurethane Caulk: Provides excellent adhesion and is also very durable, but can be a little more challenging to work with. Most polyurethane products are designed for exterior use. They can also be applied to a wet or damp surface if necessary.
- Hybrid Caulk: Offering you the best of each technology without the drawbacks, You can apply these products to a wet painted surface in a relatively short period. When applied to any surface, the hybrid products provide a long-lasting seal regardless of where they are used.